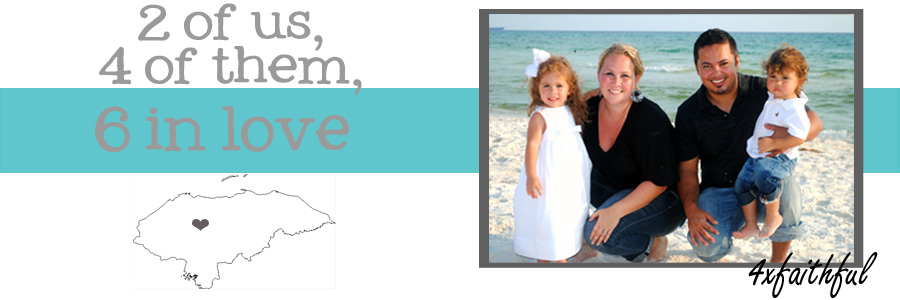
Since my first "hair" post, nearly a year ago, I've tried several new hairstyles on G. I'm glad she lets me 'play' with her hair each morning. It's fun! Most mornings, we're on a bit of a time crunch, as we're trying to get out the door to school. Therefore, sometimes I click on last year's post for inspiration: Braids, Buns, & Bows - Oh My! (part ONE)
I'm having to do her hair more often since summer is over & school is in session, and I wanted to remember some of the new styles we've tried.
So, this post is for me, as much as it is for anyone else! Ha.
I need *easy* in the mornings.
--------------------------------------------------------------------------------
(Sorry, this is not the most organized set-up ever.)
Double Braids
Double french braid all the way down. Then loop back up to desired length and tie with an elastic.
I love this one for Gymnastics class...it stays up and out of the way!
Two ponytails. Then fishtails for each. Loop back up and tie off.
We often to 'the same ole' but with a different part.
I either do a straight part in center, straight part on the side,
a curvy part (as seen below), or a sharper zig-zag part.
Double french braids are my 'go to' hairstyle. I love it b/c I think it's cute, it holds great for the whole day, you don't have to have a matching bow, and it's a really comfy style for her
(no bows, headbands to deal with).
Down
She loves wearing her hair down. These two pics are of her hair when I blew it dry w/ a dryer.
Mix up a 'down' hairstyle with a simple little braid in the front. I usually do just one, but you could do one on each side, or either 3 on the same side.
Down with bows or headbands.
She has naturally wavy/curly hair. But, I think she probably had a braid in earlier this day.
Another option for a 'down' hairstyle. A loose french braid around one side of the face.
Tip: When braiding, only pull hair from the side close to the face....don't pull from the other side.
Another 'twist' on a down hairstyle.
Pun intended.
A little bun, using the hair on top. (Even more variety can be added by doing different types of buns.)
The one below is a simple/basic twisted bun.
Buns
I happen to love two buns!
G...not so much.
She hardly ever 'lets' me do it. Bummer.
Loose, messy buns.
Love this one for sports too!
G's hair naturally parts on the side (& so parting on the side provides the best staying-put power).
So, I start part on the side, but as I get to the back/neck, I part in the center.
This style is easy. Part as you wish. Double french braid all the way down & tie off. Wrap long braids into buns. For super security, use bobby pins as you wrap.
She doesn't like the buns that 'stick' out. ;)
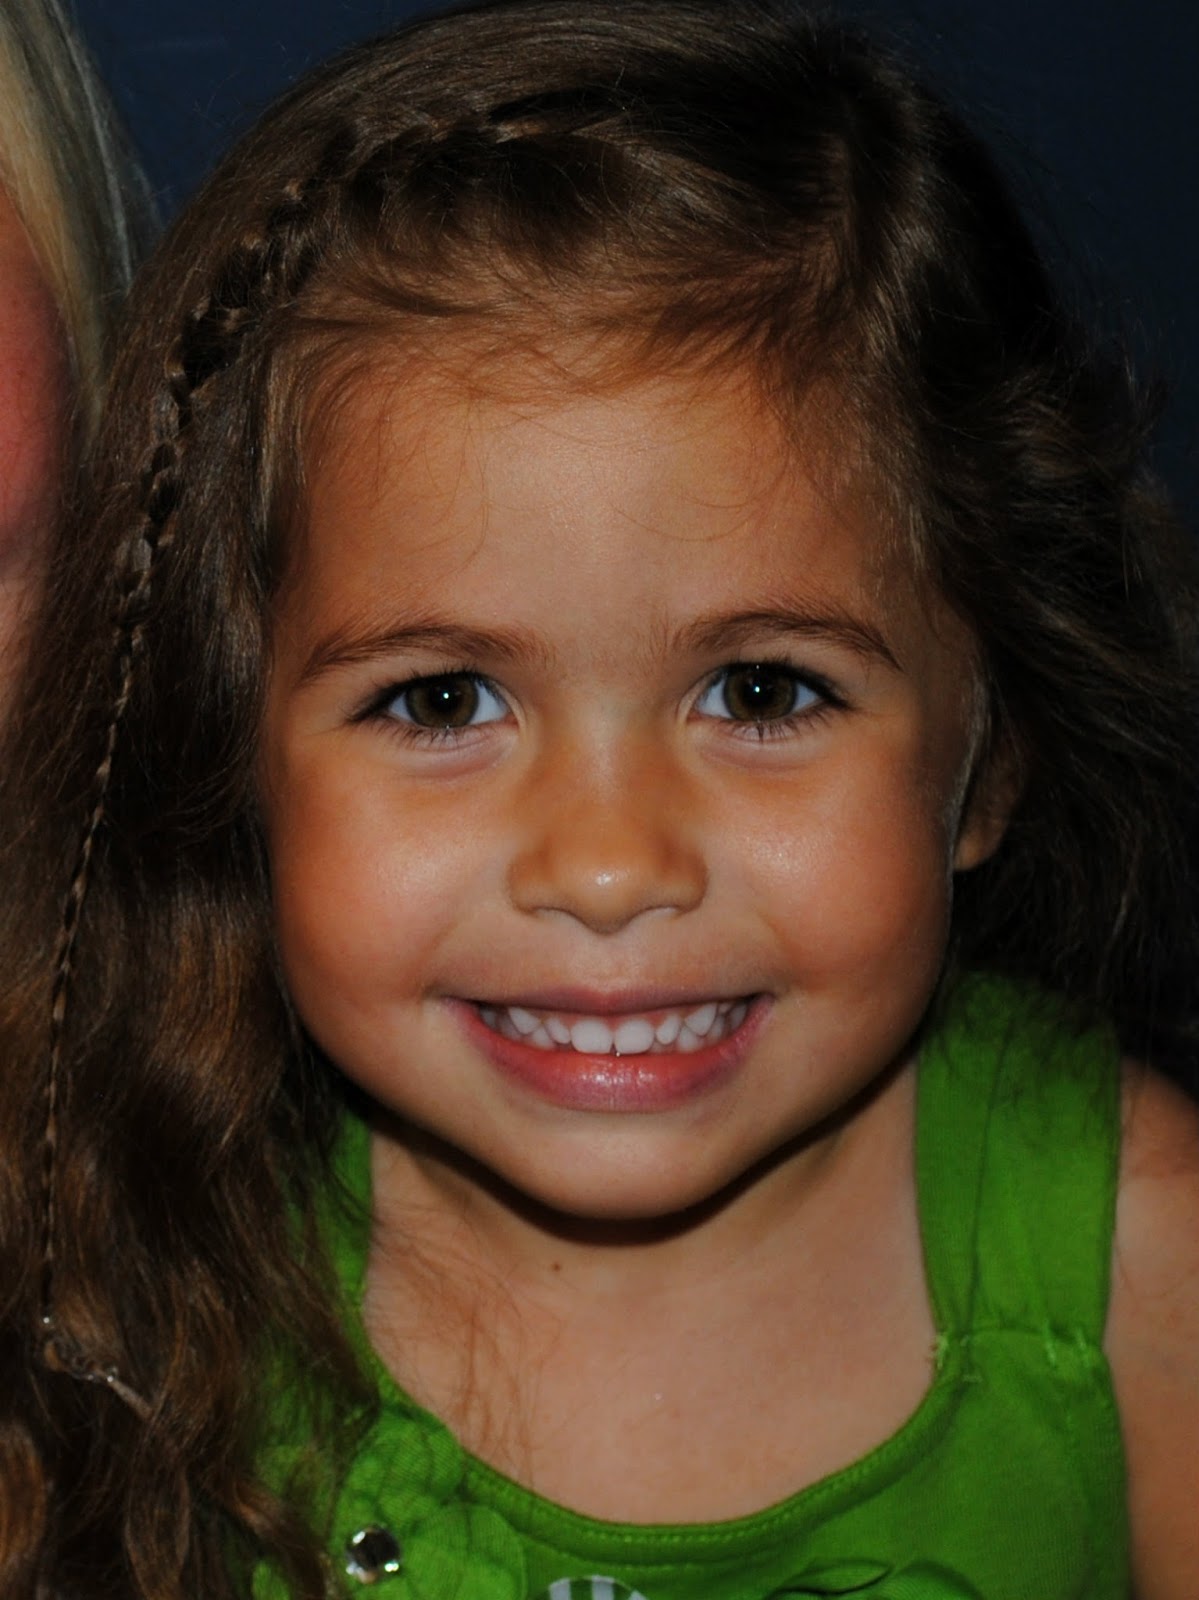
A fancy dance bun. For this style, I put it all into a ponytail. High or low will work. Then I take a small section of the ponytail, twist it so it twists up itself, & then just put a couple pins in. Repeat with another small section until all of ponytail is used.
I did a small part at her natural part, on the side. Sectioned off two pieces of hair on each side of the part: A high section & low section near ear. Braid each of 4 sections towards the back. I put them all together in a small ponytail on the side. Then sort of wrapped them all together in a messy bun & pinned.
A super high, messy bun.
This is actually how I wear MY hair every day around the house.
Somehow, it looks SO much better on her!
Ponytails
I just thought this looked neat.
This is what her hair looked like after I took down some tight, twisty buns.
When I have the time & like the color combo she's wearing, I like to do double mini ponytails all the way down. Use a pointy comb to draw the parts as you go. She likes this style b/c she likes to put the ponytails elastics in a certain order/pick the pattern & hand them to me as we go.
Two low ponytails, with barrettes to keep the fly-aways back.
Just playing around one day, I came up with this.
Two high ponytails, each divided into two sections. Both sections on right are twisted the same direction. Both sections on left are twisted the same direction. Tie together with elastic.
We use this hairstyle all the time!
Two, basic, high ponytails.
Mix up your standard ponytail by doing a small french braid on one side of the front. *Only pull from the 'face side', not from the other side. (So, in this pic, I only pulled hair from the right, not the left.) I usually repeat until I get to the ear, and then continue a regular braid towards where I want the ponytail. Sometimes we do this on both sides.
Another variation on your standard ponytail: Add colorful hairbands down the ponytail. Again, G likes to help choose colors and order of the bands. Super easy, super fast.
This is similar to one I posted a few pics up. One difference is that I tried to put the elastics further apart (i.e. closer to the sides of head/ears, creating more space on top of the head). The other difference is obviously what I did to the ponytails after the nape of the neck. I divided each pony into two sections, & wrapped them around each other. Important: Wrap the other ponytail exactly the same direction! Then, twist the two together in the OPPOSITE direction.
Another great 'sports' 'do.
Fishtails
Yep, I do this one too.
She wanted us to have matching hair, so fishtails it was!
Her hair has gotten SO long, that fishtails take a long time. But, I really like the look of them!
Don't know about you guys, but hers looks really 'frizzy' after a couple of hours. :/
Braid Variations
Such a fun hairstyle! You definitely have to have a cooperative girl for this one.
An upside down french braid into a bun. I have G face me & then lean forward with her head down. Do a french braid as you typically would. When you get towards the top of the head, you can just pull the rest of it into a ponytail with the braid. Everytime I do this, it's messy. Maybe it's just me, maybe it's the hairstyle, but I guess it's just the look. (so I usually have to use bobby pins just to get it looking decent.) Anyways, there are many things you could do w/ the ponytail on top. I divided into 3 sections & braided each section, wrapped, twisted, & pinned into a bun, w/a few curls left over. For this one, I added a big bow in the front, blocking the bun. This is my favorite way to do this style.
* Note, I have actually done this style on myself a few times, and it's not too hard!
Two ponytails. Divide each into 2 sections. Twist each of two sections to the left. Then twist the two sections together to the right. Repeat with other ponytail. Stays well & a very clean, tight look.
Section off three rows of hair on one side of a part...ending just past (or above) ear. Do 3 tiny frenchbraids or cornrows. Tie off with tiny rubber elastics.
One large french braid or cornrow all the way across front of head, 'like a headband' she says.
In this photo, I pulled hair from both sides for a different look. I actually prefer the look of just pulling from one side...the front/face side.
Ponytail. Then, divide into 3 sections: 2 larger sections & 1 small one. Braid the small section. Braid the 3 together. To enhance the look, tug at the larger sections when finished to 'fluff' them out a bit.
I showed this one in my last post, but here's another look at it. Super easy & fast 'do.
Ponytail. Divide into 2 equal sections. Braid each of 2 sections. Tie them off TOGETHER with one elastic at the bottom, so they are side by side. Then, I took 3 bobby pins, reached around the back of the braid (so they are hidden), and pinned the two braids together (pins will be pointing up/down). It appears that this is one large braid. You can tug these pieces out a bit, too, for a fuller look, but be careful of pins.
*Unrelated note. Wear socks with shoes like this!!! After recess, I'm pretty sure she & her teachers hated me. She came home with 6 bandaids. :(
Braided Updos, Flowers, & Crowns
G and I agree: This is one of our FAVORITE new looks!
We call it a Braided Flower.
Part as you wish (I do on the side). French braid (or you could cornrow?) both sides, all the way down, tying off each w/ an elastic. Then, you are going to twist one side up into a bun (choose a side of the head) & pin. Then, twist the other braid around that & pin. *For more of a 'flower' effect, decide which way you are wrapping the first strand & tug out the pieces that will be on the outside of the flower. Do the same for the other braid.

I showed this one on my other post as well, but it's one of G's all time favorites. I have to have more time than usual to try this one. I start a small french braid behind her left ear, moving forward towards her face. Continue french braiding, pulling small pieces of hair nearby as you go. Keep it clean as you go across forehead. Keep going around outside, like a crown. When you get about past the right ear, you can start pulling hair from the top of her head (behind the braid you just completed). Keep pulling from the top of her head & the bottom/near her neck as you go. When you get near her left ear again, you'll run out of new hair to pull. It's important to keep it super tight & near her scalp at this point. Continue to braid normally all the way down the rest of her hair...as FAR as can go. Tie off with a tiny clear elastic. If her hair is long enough, wrap the braid over some of the first part of the french braid towards her face, tucking in the end & pinning. Her hair is super long, so it makes it all the way over near the other ear, which works out great.

*Note: I sometimes add a flower to this style. And this is usually where I add it b/c it hides the messy transition spot.
Two french braids, one of the wrapping around the back of the head.
Knot, twist, and pin into a bun. Add a flower.
This is a better look at it. I personally really like this one. It's similar to some of the ones above.
Part on the side, but as you get to the back/neck, center the part. If you are doing the bun part on the right (as pictured below), start braiding the left side first & go all the way down. Then braid the right side. Wrap them together, one braid at a time, pinning into a bun.
*This was for her dance performance.
This is the exact same hairstyle as above, except I didn't pin into a bun. I braided the left side all the way down & tied off. Then I braided the right side until I ran out of hair (around the nape of her neck). Then I just tied it off with an elastic (including the braid from the left). Add bow.
This is the same as above, only with a variation on the bottom again. For this one, I braided the left all the way down. Then I braided the right until the nape of the neck. Then, I redivided it into only two pieces, not three. Use the two pieces from the right & braid them together with the braid from the left (using the left braid as one piece of the new braid.)
A new variation we've discovered. Do the left side similarly as above, but continue it along the back longer than before. Braid the right side until just past the ear, using all of the remaining hair. Braid all the way down & then pin into a small 'flower' bun.
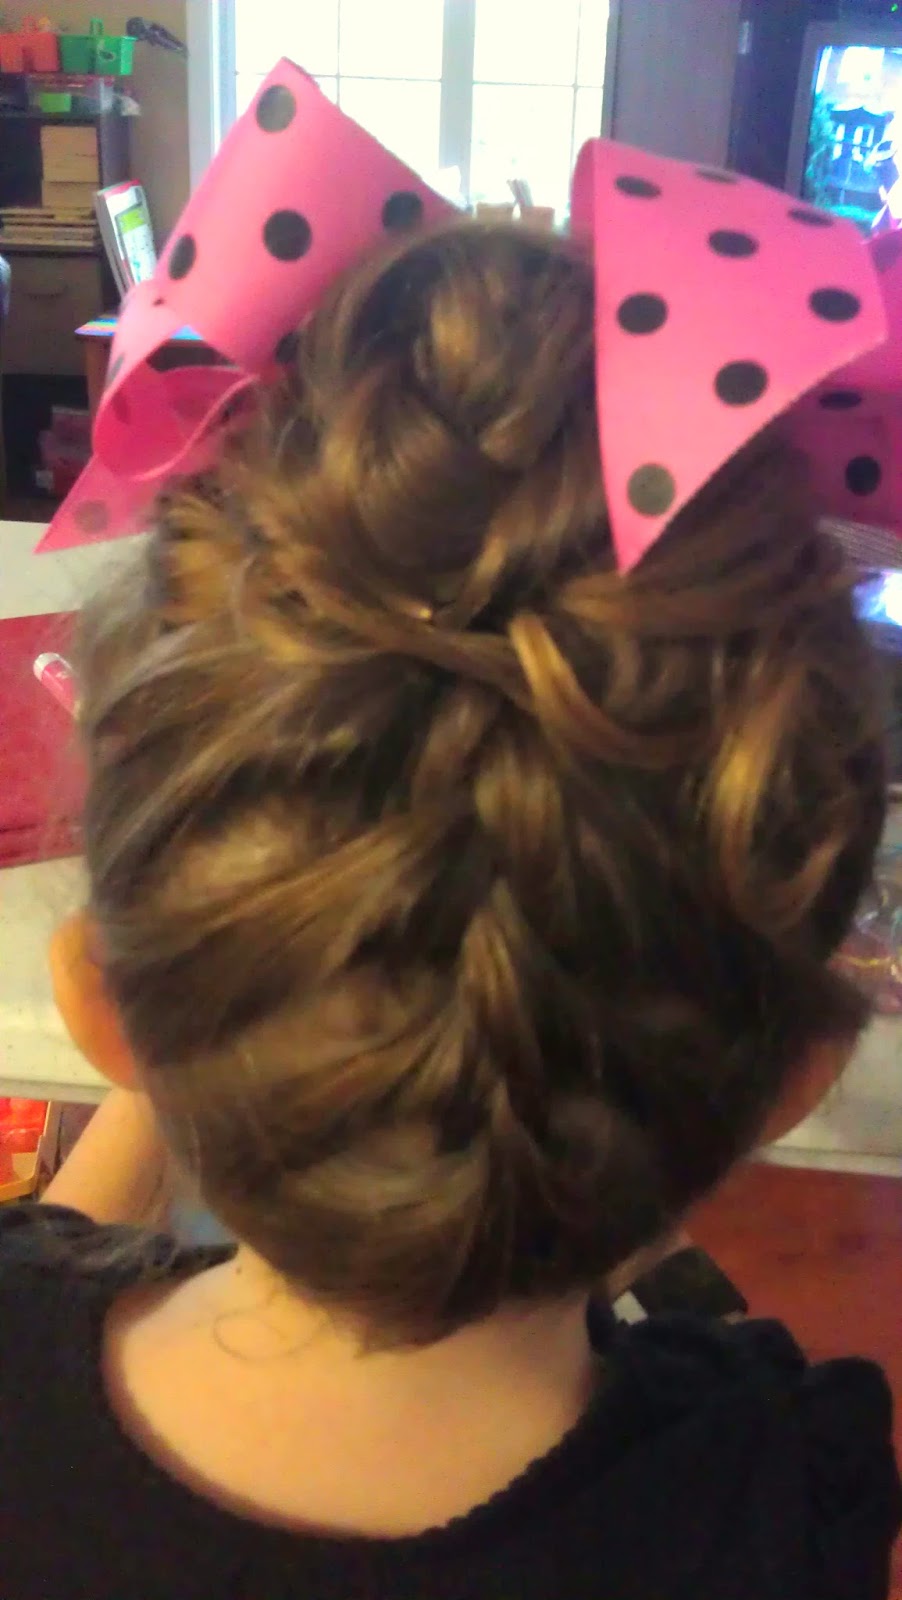
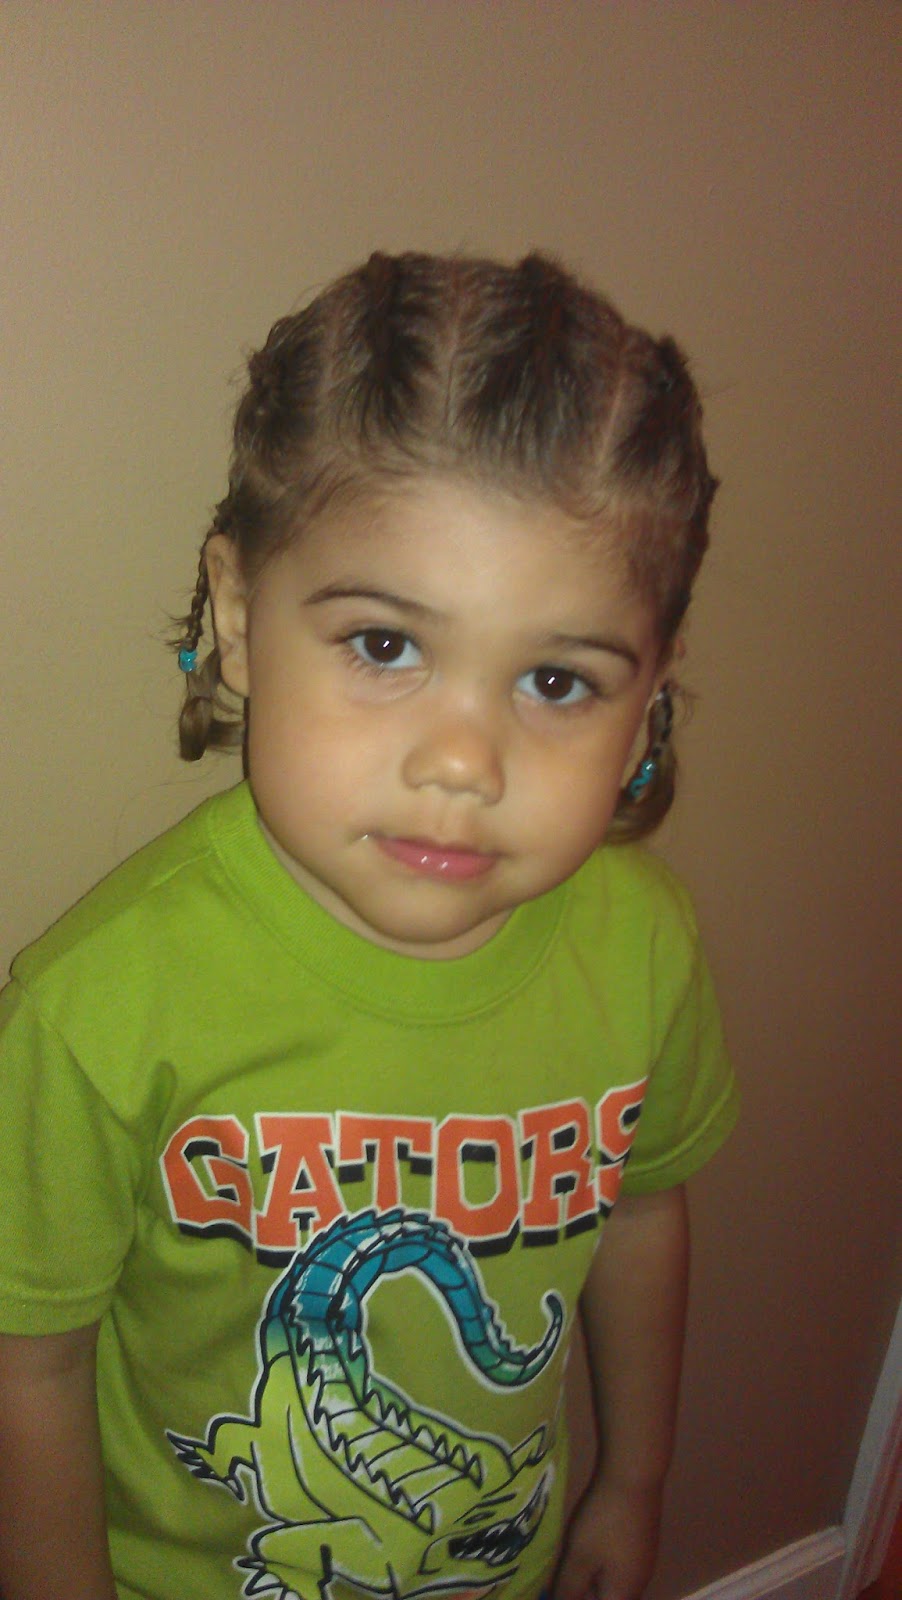
Brother Styles
Bandanas have been our staple this summer. K's hair is long & it grows so fast. Instead of having him worry with it & stopping to brush it out of his face, I've discovered these cheap, colorful bandanas. He likes them & they stay put pretty well.
Hats of all types: love!
Not to be outdone, K rocked some cornrows one week this summer. Having never had it done before, he wasn't a big fan of the process, but I loved the result. It was fun & kept him cool. Thanks, Noni!
As for me, I tried something new too:
Added my favorite color- purple- to my hair.
Although it was a pain to have to keep the blonde separate from the purple in the shower,
it was fun to try something different. And, although, it faded, it lasted for months!
Left: once it faded. Right: Soon after it was first done.
Sometimes,you don't need to do anything at all Gorgeous.
But if your hair looks like mine did one morning
(or, every morning?),
"Mommy, why does your hair look like this?" she asked. Ha!
then throw on a pair of undies & call it a day.
Happy 'doing,
~ 6 in Love ~